|
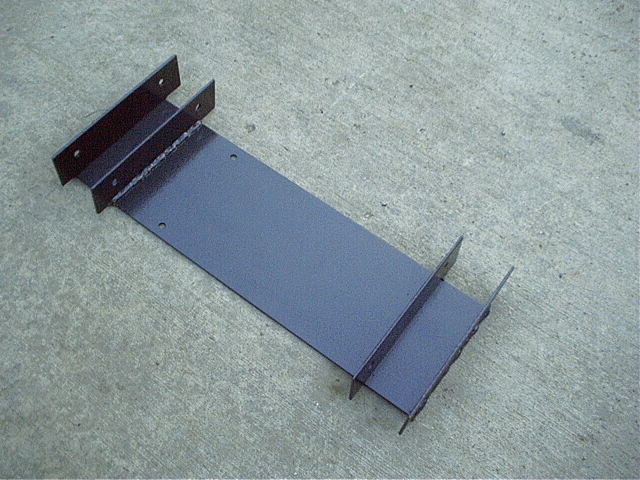
I welded together this air tank bracket out of 1/8" steel plate and sprayed it with some rust inhibiting paint.
|
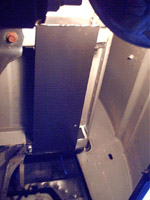 |
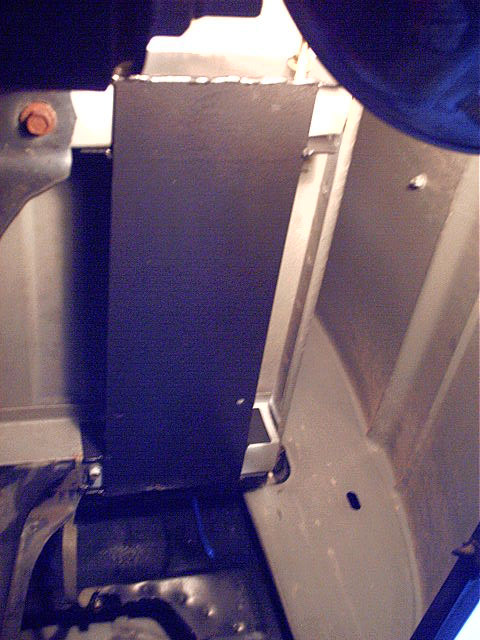
This is how it mounts to the truck - underneath the bed, just behind the cab on the passenger side.
I drilled 4 holes in the bed "crossmembers", and the plate is secured with 4 bolts. There are two holes drilled into the bottom of the plate for the tank to mount to the plate.
|
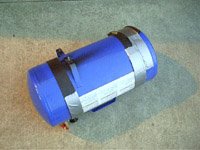 |
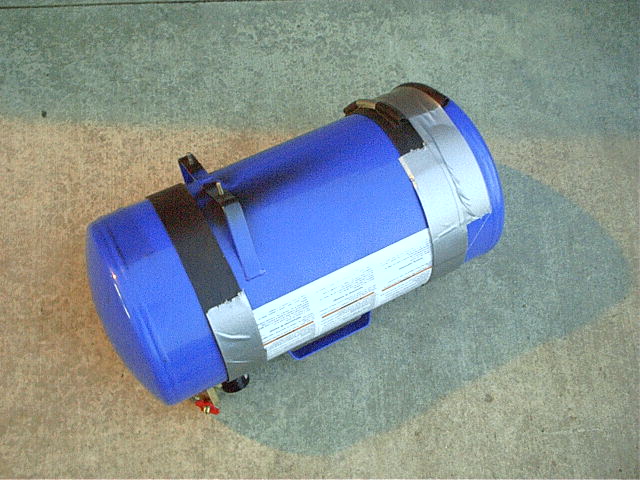
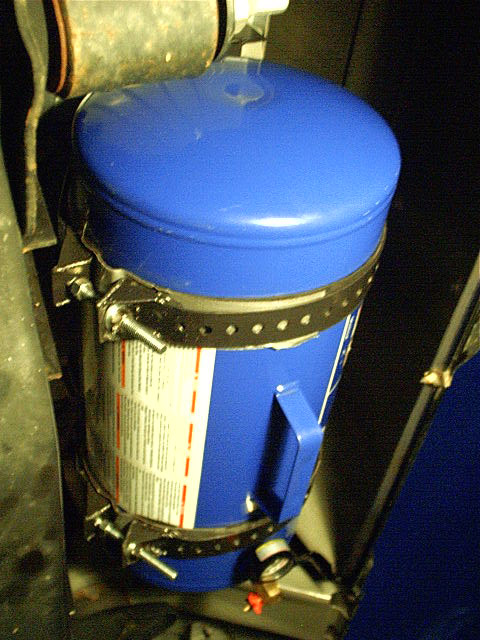
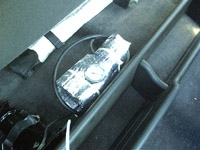
This is a 7 gallon, 125psi Campbell Hausfeld air tank which I purchased for $17 at Wal-Mart. The legs already had holes in them, but due to space constraints, I decided it would be easier if they were studs, rather than trying to thread a nut and bolt combination through them on the truck. So, I welded a couple of bolts in place. This also eliminates any need for a wrench on the bolt.
After welding, I shot the area with some rust inhibiting paint. I used some rubber strips around the tank to protect the finish from the steel retaining straps I plan to use. Another bit of rubber at the end of the tank will form a cushion and compress somewhat to prevent the tank from banging against the mounting plate on bumps.
|
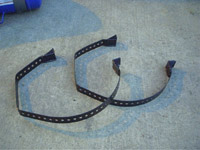 |
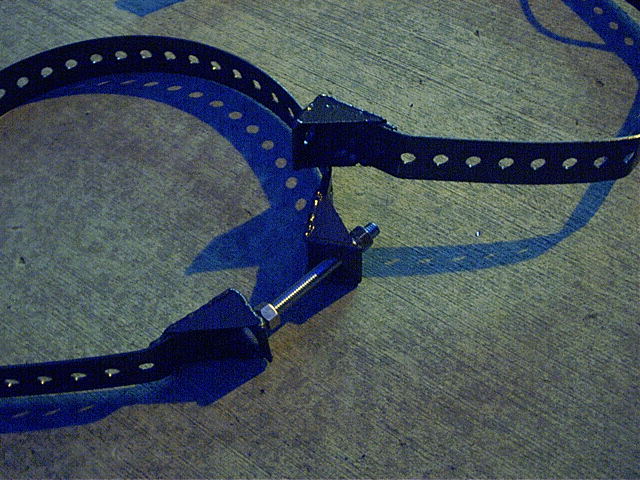
I created these retaining straps out of some galvanized steel straps along with some plate steel for the ends and some misc. hardware (carriage bolts, nuts lock washers, etc.)
|
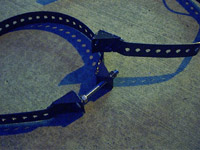 |
Another view of the retaining straps.
|
 |
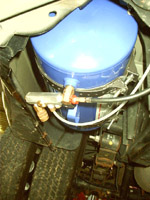
The studs on the tank's legs are inserted through the holes in the mounting plate, nuts, washers & lock washers are installed, then the retaining straps run around the mounting plate and the tank.
|
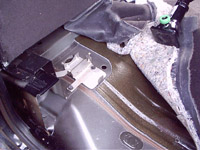 |
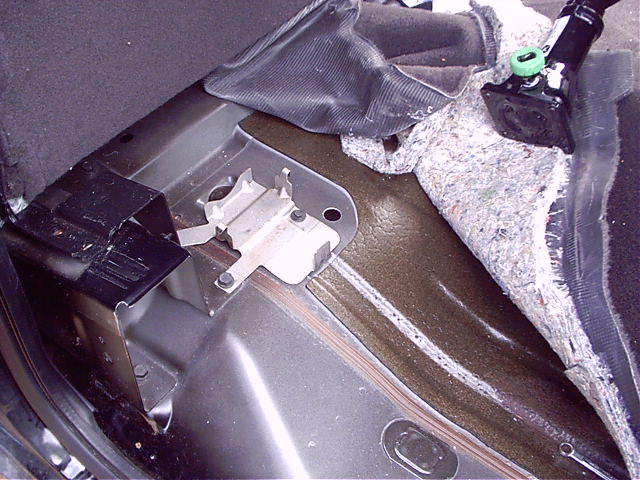
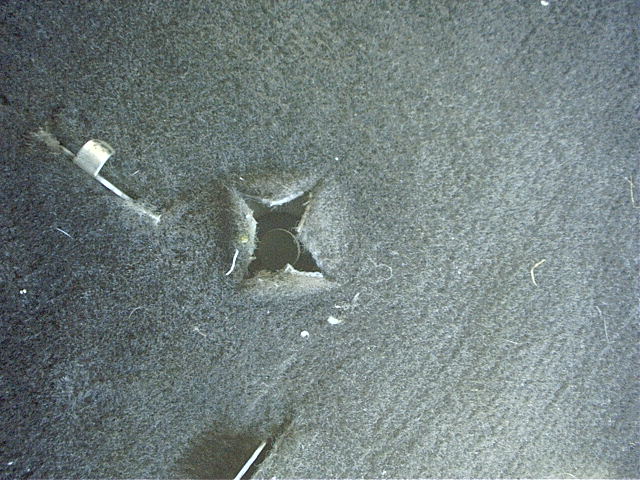
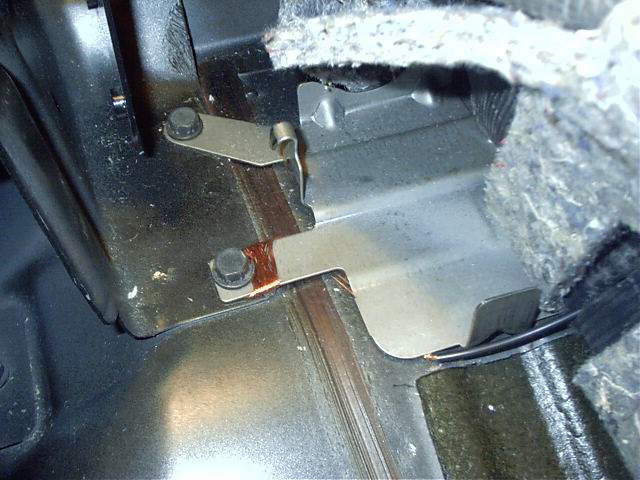
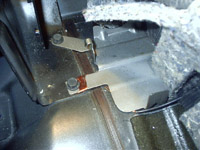
This is the location I chose for the misc. air and electrical lines to run into the cab. (You can see the 3/4" hole I drilled just to the right of the jack mount. This is a club cab truck.)
|
 |
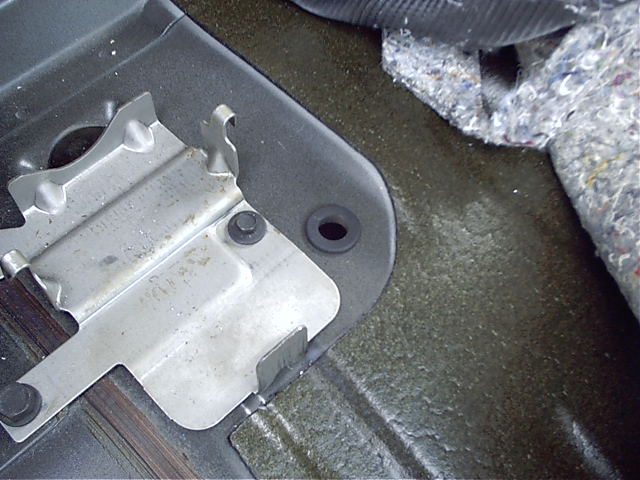
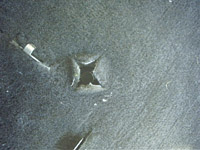
Another shot of the same location, after I've put some paint on the exposed metal and installed a rubber grommet.
|
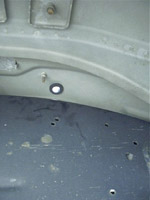 |
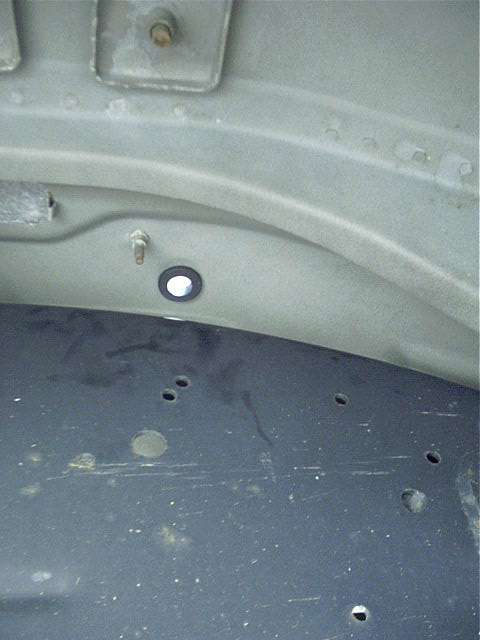
This is how it looks from underneath the truck. The grey metal is the floor of the cab and the black metal is the outside of the passenger side frame rail.
|
 |
A view from inside the truck after the carpet has been laid back down and a couple of slits cut to correspond with the hole.
|
 |
This is the air compressor I'm using. I purchased it at Harbor Freight for $29.99. For the price, I figured it would be worth a shot. Its a 12v air compressor, rated for 100psi and 40 liters per minute (in "real" numbers, that's just over 10.5 gallons per minute). Its got a cigarette lighter plug for power, and a chuck designed to screw onto a standard schraeder valve. I was hoping I'd be able to just unscrew that hose and adapt the output of the compressor to a pipe thread, but I couldn't find an adapter to fit the weird metric (or whatever it is) output.
|
 |
The compressor works OK up to about 50-55psi, though its pretty slow, and very slow once it hits about 50psi. It can get rather warm also, so this isn't really a good compressor to use as your primary air source, I treat it more like an emergency backup. Until I come across a good deal on a more powerful air compressor, I just fill the tank from my shop air compressor. The system doesn't bleed down very fast, so I only need to fill the tank around twice per month.
As you can see in this picture, I wrapped the compressor with some heat shielding, just to prevent it from burning something. I planned to put a fan on one end that would kick on with the compressor, but I don't know if I will bother with that, since I don't actually use this compressor all that much.
|
 |
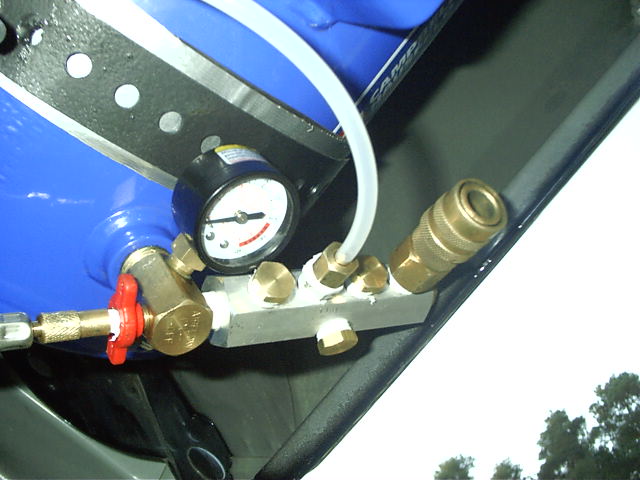
The air tank is designed to have an air hose screwed into the fitting at the top; instead, I installed this aluminum manifold which gives me several 1/4 NPT outputs. The black hose coming into the fitting from the right is the air hose from the air compressor in the cab. Its screwed onto the schraeder valve on the tank which is intended to be used to fill the tank from an air compressor.
|
 |
Another view of the air tank fitting and manifold. The plastic tube runs into the air manifold in the cab of the truck. To the right of the manifold, you can see a standard Industrial style air chuck quick disconnect, which I can use to fill tires or the air tank itself.
|
 |
This black 3/16" air line runs from the in-cab air manifold to the pressure gauge in the console.
|
 |
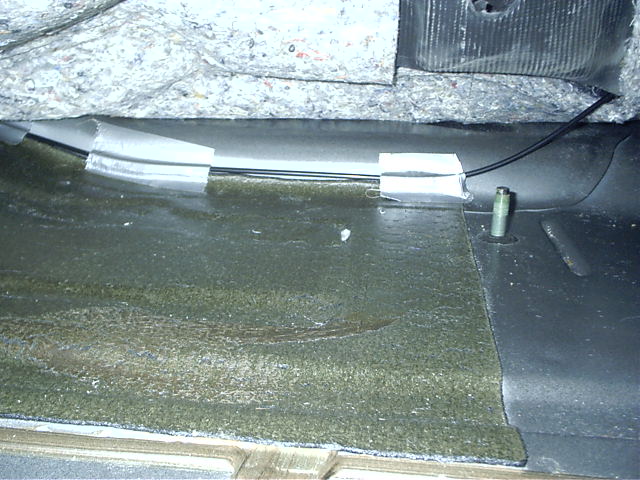
This is where the air line comes up through the carpet on its way to the in-cab air manifold.
|
 |
This is where the air line comes up through the carpet on its way to the console.
|
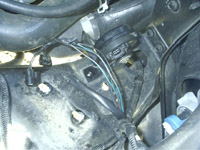 |
I tied into the air horn electrical wires right beside the horns themselves, by the passenger side front fender, below the battery tray. The truck provides +12v and ground to the horns when you hit the horn button. I tapped into the (green) wires which provide +12v as a "signal" wire to the cab so that the air horn system will know when the horn button is pressed. After that point, I actually cut the +12v wires completely, so that the signal to the horns actually comes from the air horn system. This allows me to turn the electric horns on and off via a switch inside the cab.
|
 |
I wrapped some wire around the jack mount for my in-cab ground.
|
 |
I tapped into the cigarette lighter power wire for switched +12v power.
(I'm not actually using this line to power anything, its just used to
control a relay which switches a heavier gauge wire.
|
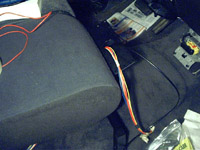 |
A bundle of electical wires and the air line for the pressure gauge run up through the console bracket before going into the console itself.
|
 |
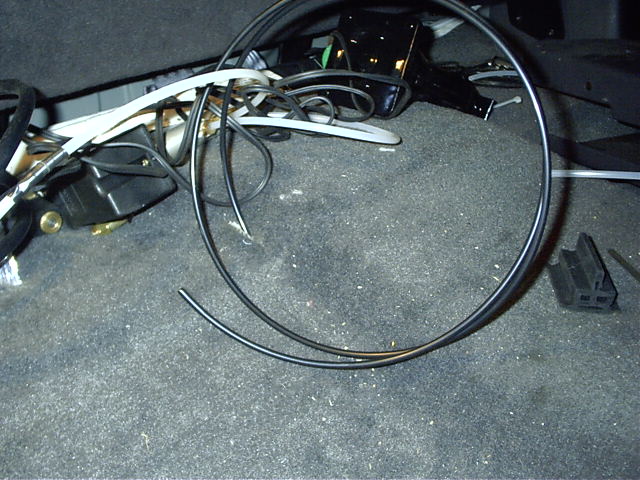
Spaghetti, anyone? 
|
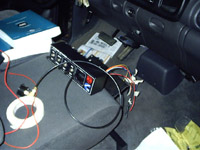 |
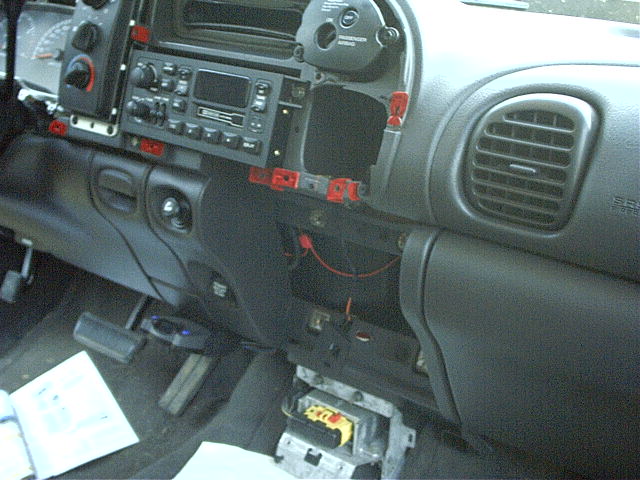
Just getting ready to wire up the console box, then bolt it to its base.
|
 |
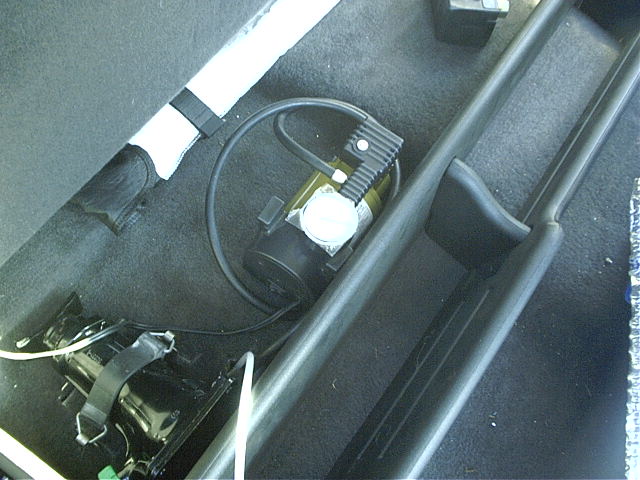
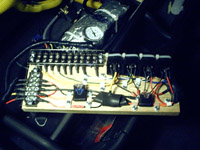
This is the in-cab air manifold. The large box hanging off the end is a pressure switch, which is used to turn the compressor on and off automatically, as required. (The air compressor I am using isn't actually heavy duty enough to be used in this manner, so I leave it off most of the time, but if I ever replace it with a proper one, it will be a plug and play deal.)
|
 |
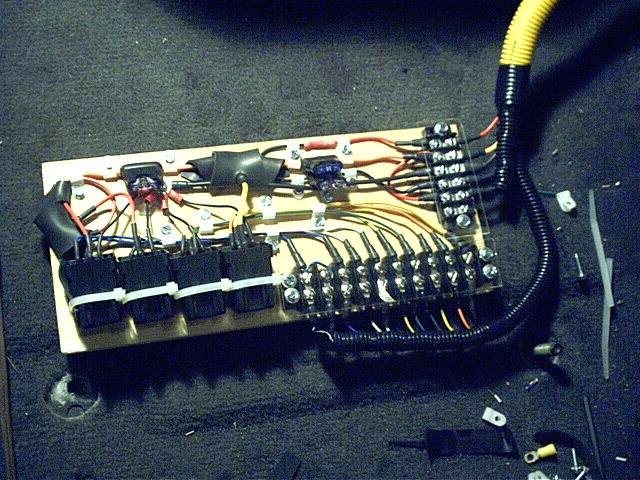
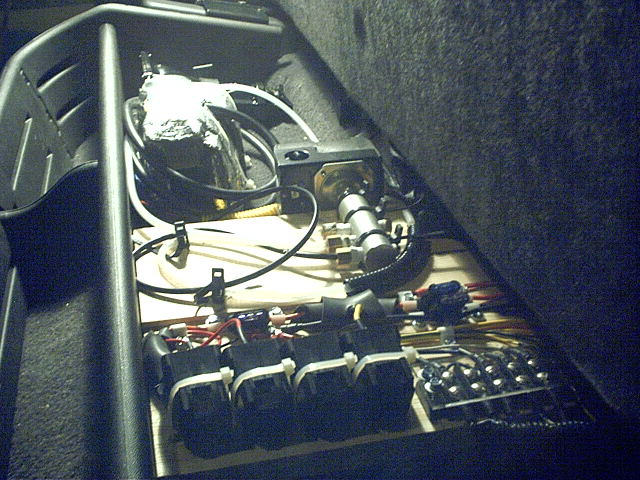
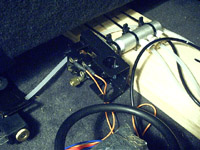
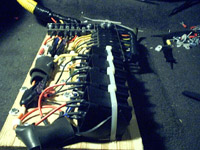
This is my "redneck power distribution center", basically the brains of my air horn system. The terminal blocks are used for various power, ground and switch inputs and outputs. The constant and switched +12v power along with the air horn solenoids are fuse protected at this point, and the relays which control various aspects of the air horn system are located here as well. Its all mounted on a piece of #2 pine, and the terminal blocks are protected by 1/8" plexiglass.
|
 |
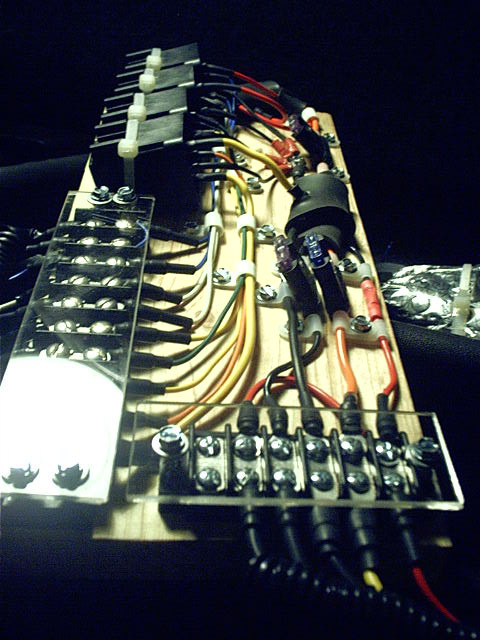
Another view of the "redneck PDC".
|
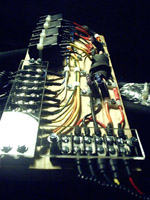 |
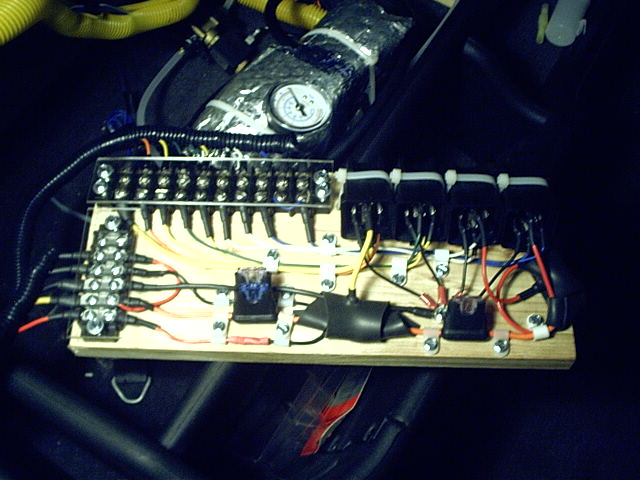
Yet another view of the "redneck PDC".
|
 |
Yet another view of the "redneck PDC".
|
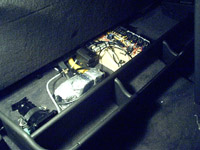 |
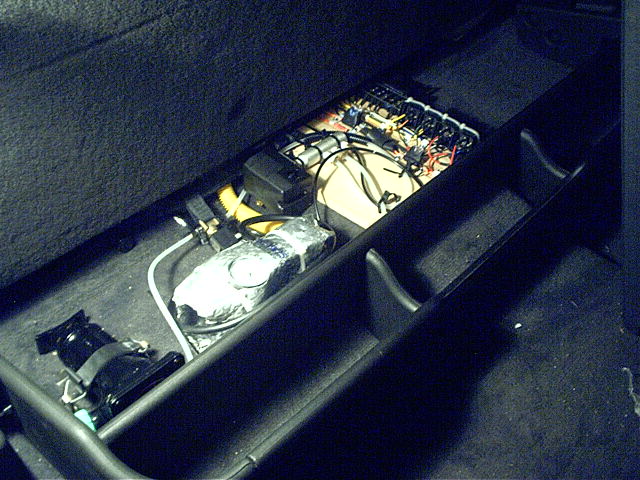
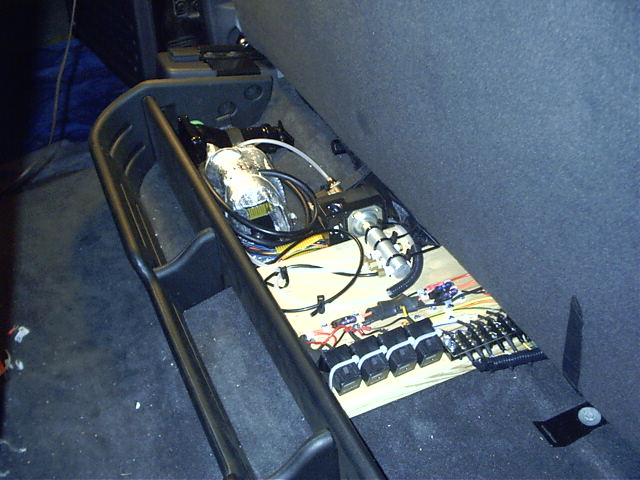
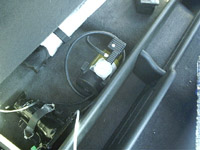
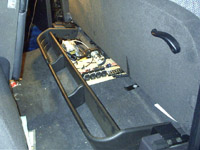
This is what the system looks like when you lift the rear seat.
|
 |
Another view of the entire system.
|
 |
Another view of the entire system.
|
 |
A closer view of the system.
|
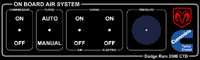 |
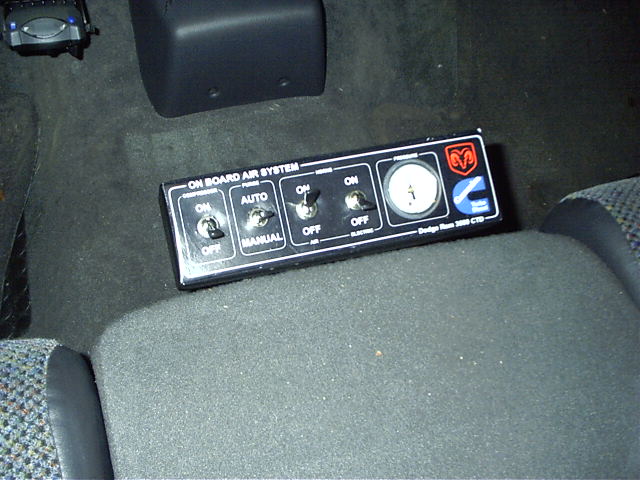
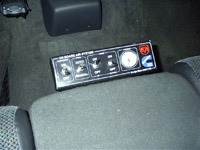
This is the console, or control box for the air horn system. From left
to right, it consists of:
- A switch to activate or de-activate the air compressor. Even when this switch is on, the air pressure still has to be in a certain range (determined by the pressure switch on the in-cab air manifold) in order for the compressor to run. Also, the ignition must be on. This is to safeguard against over-pressurizing the tank and to ensure that it won't kick on in the middle of the night sometime, when the truck isn't running.
- A switch to purge water from the air tank, which can be set to:
- Off - no purging will take place
- Manual - to momentarily purge the tank by hand, or to empty it completely.
- Automatic - passes control over purging the tank to an automated system of some type. This could be a microcontroller which would purge the tank at given time intervals or based on inputs such as ignition on, or when the brakes are applied, etc. I do not yet have that part of the system implemented, but the wiring is all in place, so all that remains is to build a purge controller and attach the output to the appropriate terminal on the power distribution center.
- A switch to turn the air horns on and off, and a switch to turn the electric horns on and off
- This allows me to have electric horns only, air horns only, both at the same time, or neither when I hit the horn button. The system is wired in a "fail-safe" manner such that if the main power fuse blows on the air horn power distribution center rendering the air horns inoperable, or if the ignition switch is off, the electric horns will still work, even if they are turned "off" at the console.
- A 0-100psi pressure gauge
I built the console out of sheet metal with some plate steel reinforcement, and it is mounted on a sturdy metal bracket that attaches directly to the seat frame. The face of the box measures approximately 3" x 10".
|