Thu 5/3/07
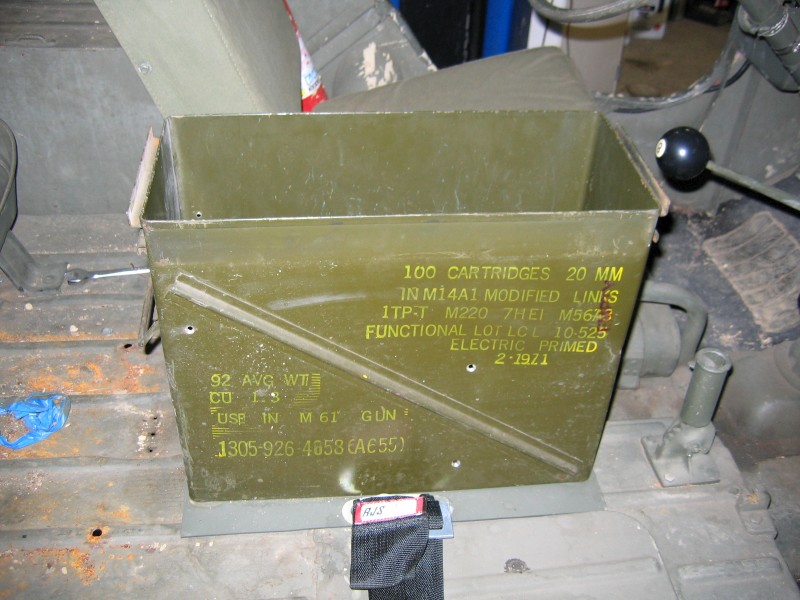
A pic of the 20mm ammo can mounted in the Jeep. I thought I took some pics of this process, but I can't seem to find them. Basically, I made a 1/8" steel plate which I bolted to the floor and the ammo can is bolted to that. I have a piece of wood in the bottom of the ammo can which the bolts run through. The wood is there so the bolt heads can be countersunk into it to give the battery a smooth surface to sit on.
001 - 115 KB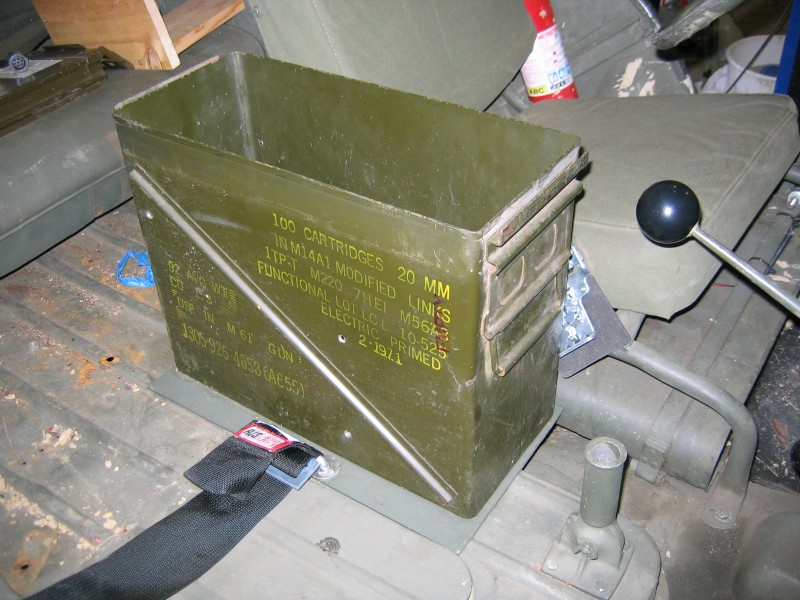
Thu 5/3/07
Another view of the ammo can. I picked this up on eBay for a little under $20.
002 - 131 KB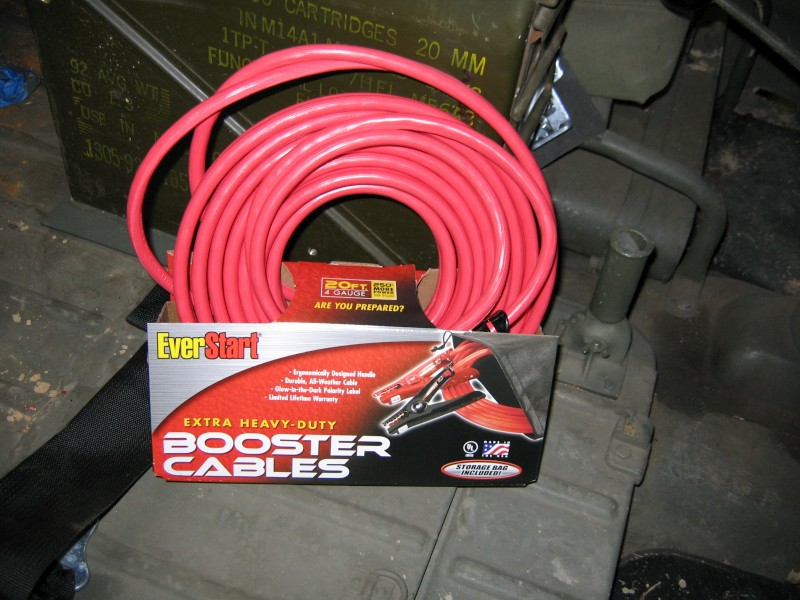
Thu 5/3/07
The Wal-Mart jumper cables I used.
003 - 125 KB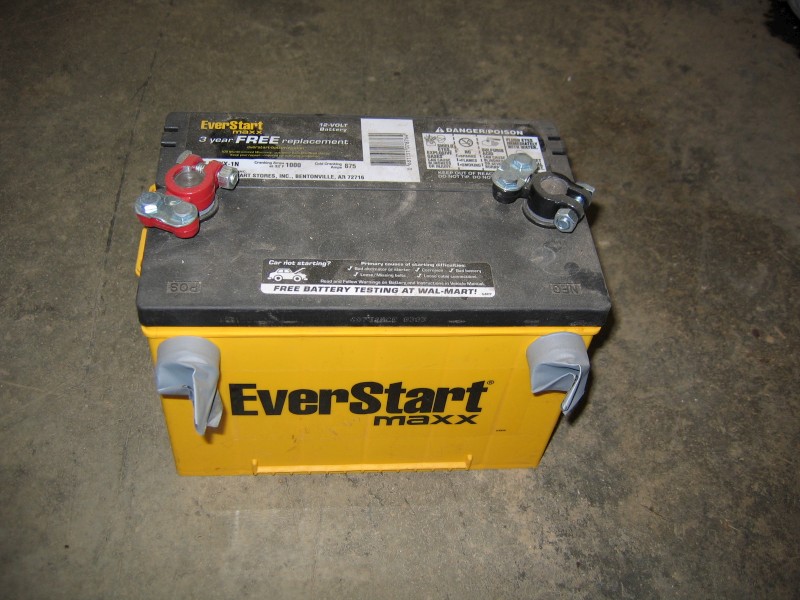
Thu 5/3/07
Also a Wal-Mart item, an EverStart MaXX 1000 CA battery. I've put duct tape over the side terminal protectors to ensure they will stay in place and not contact the side of the ammo can.
004 - 119 KB
Thu 5/3/07
This is a wood piece which fits over the battery which will help to hold the battery in place and protect the terminals from other items in the ammo can.
005 - 91 KB
Thu 5/3/07
A view of the wire coming up through the floor of the Jeep and into the ammo can.
006 - 92 KB
Thu 5/3/07
The battery is in place and wired up.
007 - 110 KB
Thu 5/3/07
Now the cover is placed down over it. Several wood screws go through the outside of the ammo can and into this cover to hold it in place. A separate wood piece gets put down in front of the wooden cover, and this is actually what will prevent the battery from sliding forward in a sudden stop.
008 - 84 KB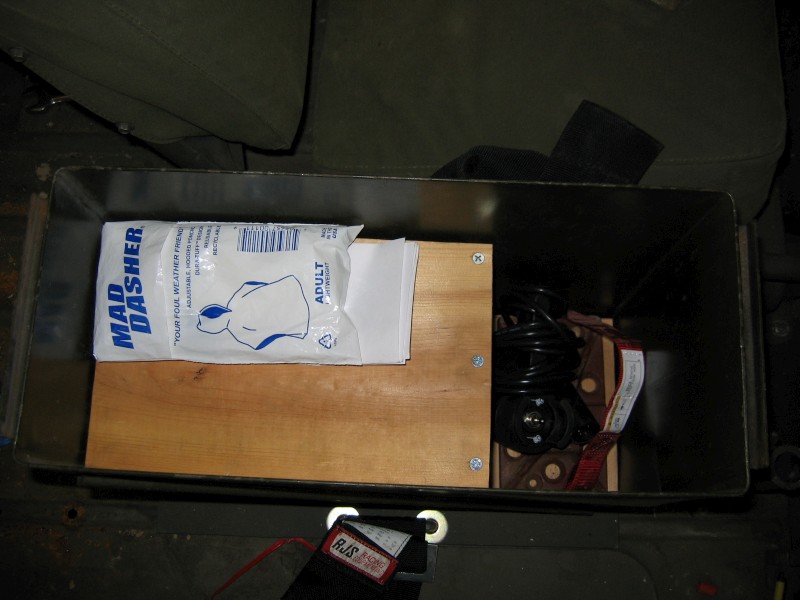
Thu 5/3/07
I've still got plenty of room for my Hi-Lift base plate, winch control, vehicle paperwork, and other items.
009 - 82 KB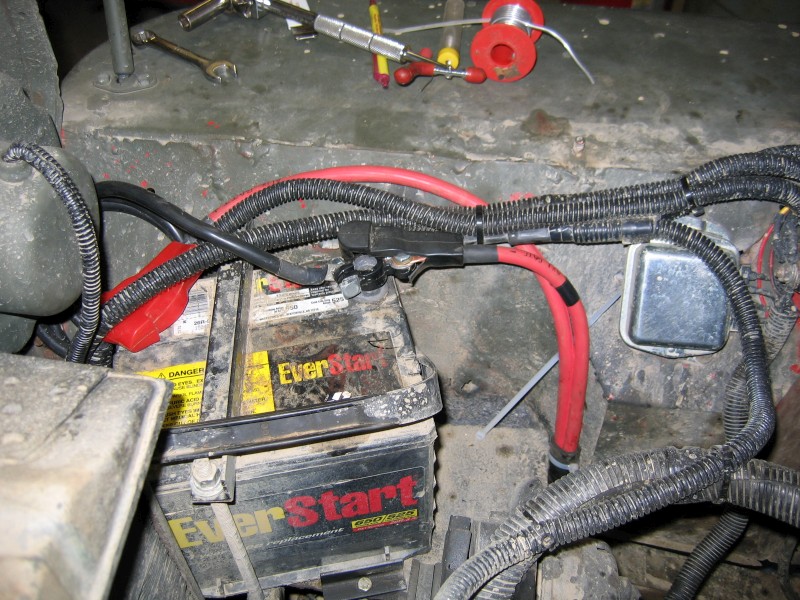
Thu 5/3/07
The red cables connect to the 650 CA battery in the engine bay and run down to the frame.
010 - 173 KB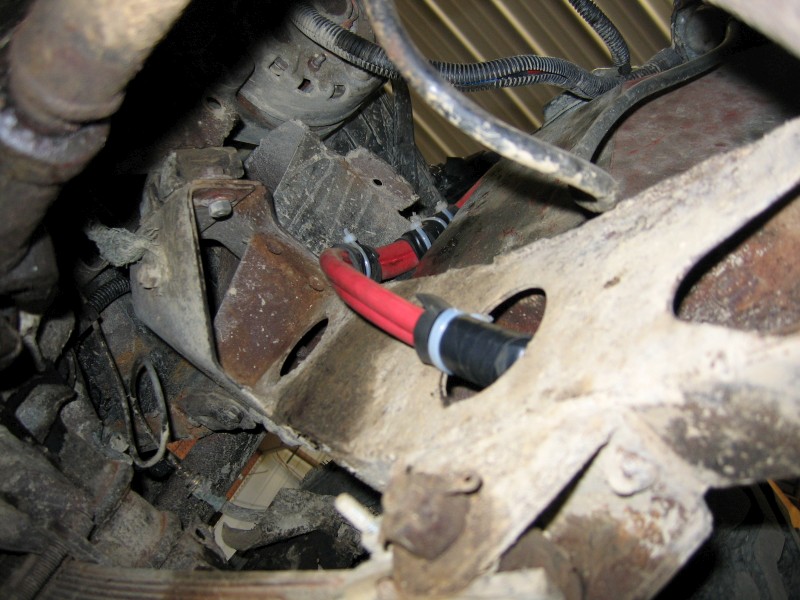
Thu 5/3/07
They run into the frame, and pieces of rubber are used wherever it looked like chafing was possible.
011 - 121 KB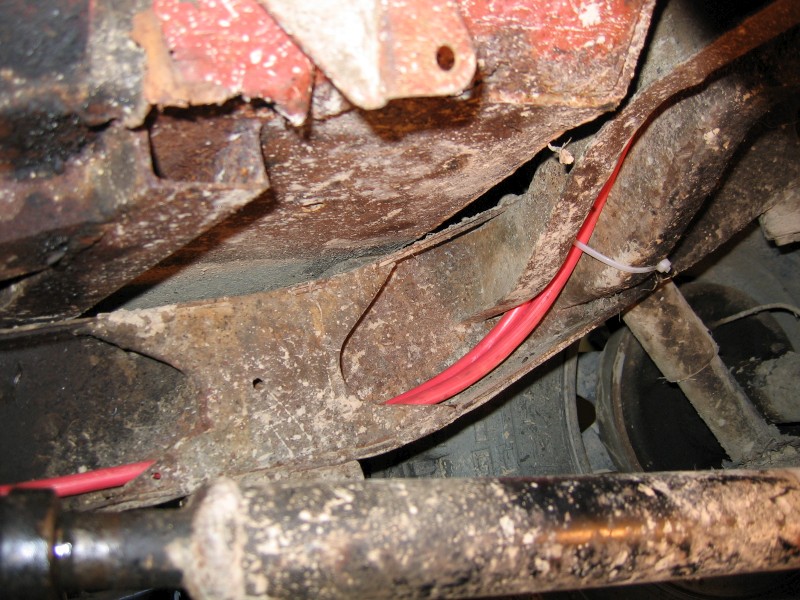
Thu 5/3/07
The cables run through the frame...
012 - 159 KB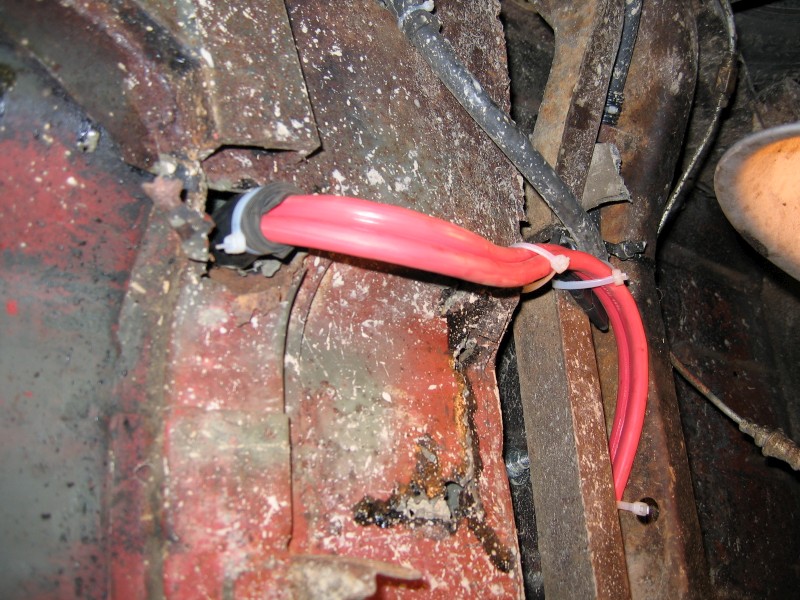
Thu 5/3/07
...until they run up into the floor and the ammo can. (One nice thing about a rusty tub is that drilling additional holes is usually not necessary...)
013 - 163 KB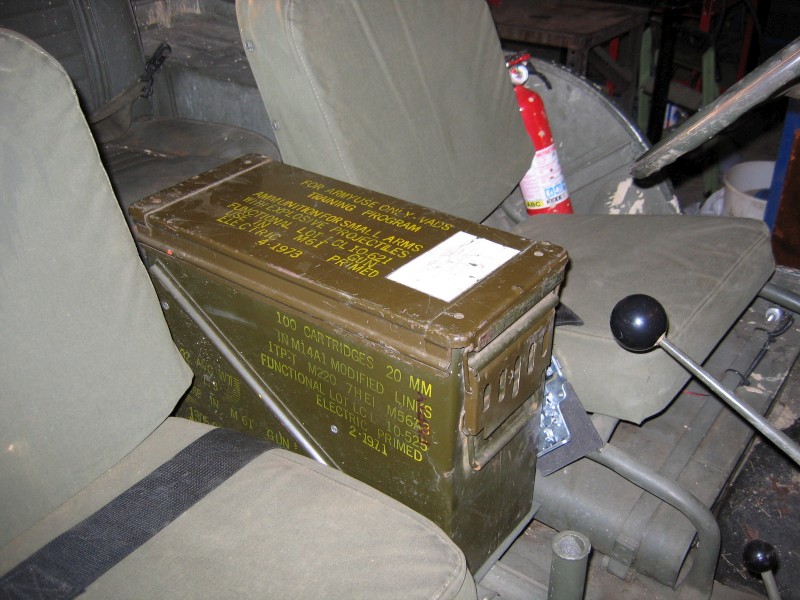
Thu 5/3/07
Just a pic showing what the console looks like with the seats installed and the cover in place.
014 - 122 KB