1970 Barracuda Hockey Stripes Install
I have always liked the look of the hockey stripes and the Go-Wing on the 1970 'Cudas. Although it is not my intent to turn the car into a "correct" 'Cuda clone, I do want it to have that look. (i.e. I won't be removing the Gran Coupe badging, just accenting the car with 'Cuda features.)
I have already added the Go-Wing (detailed elsewhere), so the next major step is the hockey stripes. For those of you unfamiliar with Mopar E-bodies, the "hockey stripes" are a vinyl decal on the quarterpanels with engine displacement callouts. (340, 383, 440, HEMI) It was a 1970 only option, in 1971 the callouts changed to the "billboard" style.
I purchased the stripes from Performance Car Graphics, who had a booth set up at the Mopar Nats and was running a show special. During the install, I used their instructions as a guide, but made some changes to the process. These stripes are essentially vinyl cut decals. I have had some experience with creating vinyl cut decals in the past, but not a whole lot of installation experience. I've put a couple of decals on the back window of my truck, but that's about it! Going into the project, I was hoping for the best.
Click on any pic to bring up the full sized version. Note: it may take a little while for this page to load; its set up as a table, and some browsers wait until the whole table has been loaded before displaying it.
 |
Tue 5/27/03
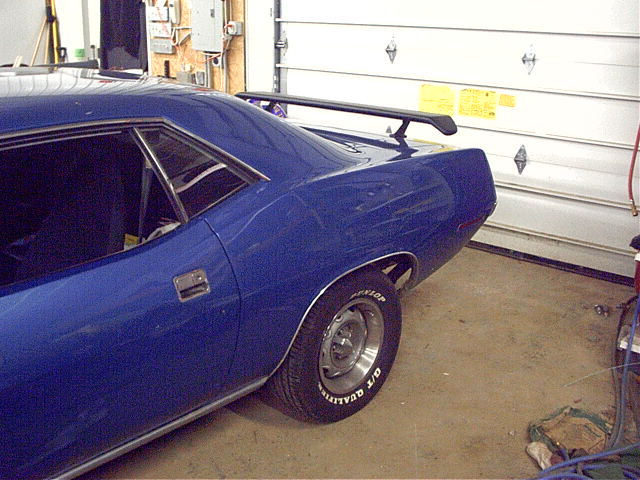
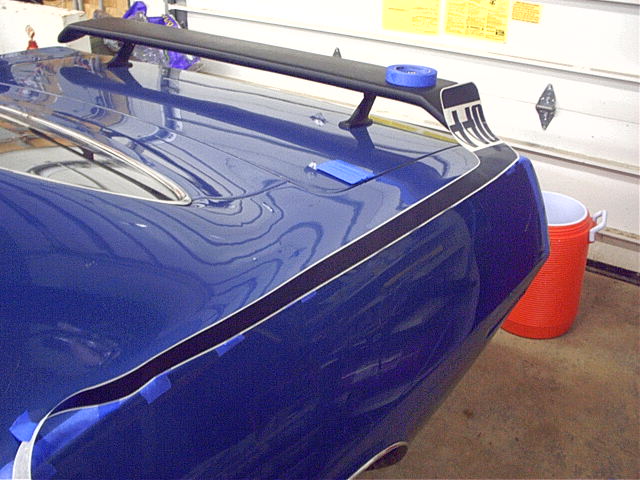
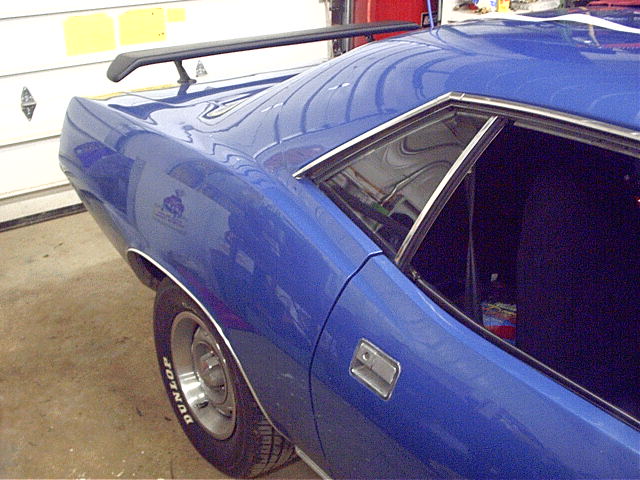
A "before" shot of what the car looks like without the stripe. |
001 - 96 KB | |
 |
Tue 5/27/03
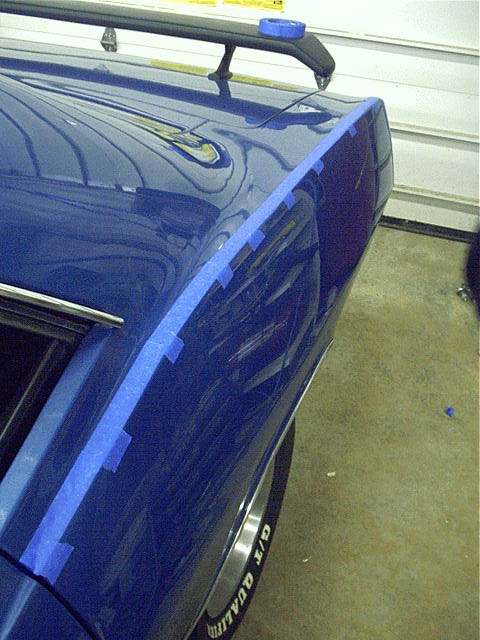
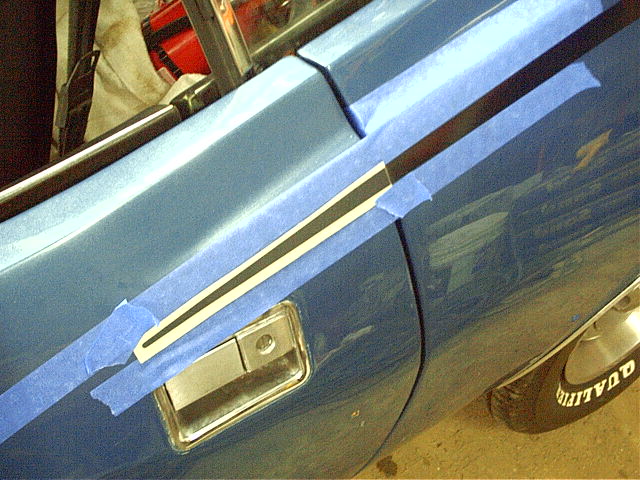
The measurements for the stripe are referenced from the vertical body character line and the ridge in the quarter panel, so my first step was to put a line of tape at these locations to make measuring easier. |
002 - 89 KB | |
 |
Tue 5/27/03
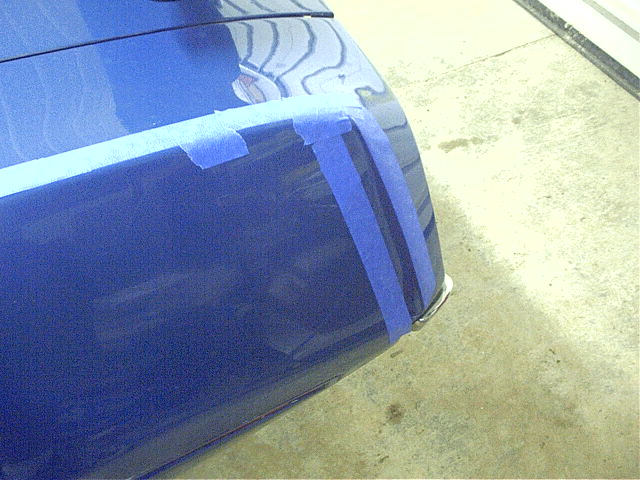
The stripe should be 3/4" below the ridge in the quarter panel, so I laid down a series of pieces of tape, marking this location. (The bottom of the little tape pieces is 3/4" below the line - ideally, the top of the stripe should lay right next to them. |
003 - 77 KB | |
 |
Tue 5/27/03
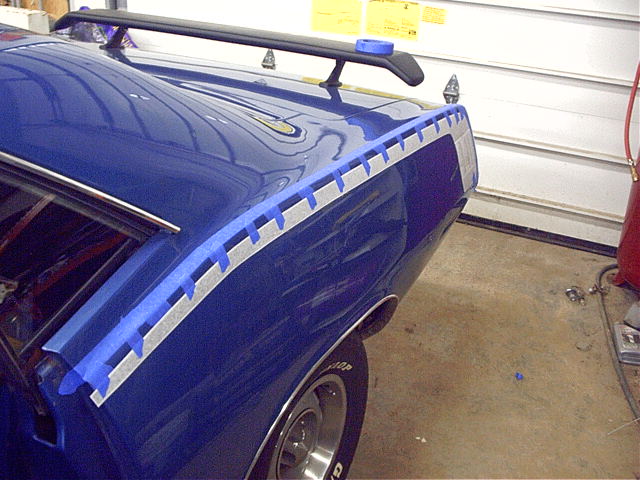
The stripe should be 1 3/4" forward of the vertical body character line, so I measured and laid down another piece of tape marking this location as well. |
004 - 91 KB | |
 |
Tue 5/27/03
Next, I laid the stripe down on the body, and held it in place with a few pieces of tape until I got it sitting exactly where I wanted it. Then, I attached several pieces of tape on the top of the stripe, holding it in place. |
005 - 93 KB | |
 |
Tue 5/27/03
Next, I flipped the stripe over so that I would be able to peel off the backing paper. It is still attached to the car by the pieces of tape, which are acting like a hinge. Because of the shape of the stripe, it isn't actually possible to flip the entire stripe over while still having the front section taped to the car, so I did the back 3/4 of the stripe first, then did the front part later. According to the instructions, the backing paper should be removed, then the car and the stripe sprayed with window cleaner. Now, this kind've went against my common sense (wet stuff doesn't stick!), but I figured these folks have been doing this for about as long as I have been alive, so I guess they know a thing or two about laying vinyl. So anyway, I sprayed the car and the stripe with window cleaner, then folded the stripe back down and smoothed it into place with my hand. After it was in place, I used the plastic squeegee provided with the decals to squeeze the water and window cleaner out from underneath the decal. Apparently, this removes most of it, and the rest will evaporate within a few days. |
006 - 90 KB | |
 |
Tue 5/27/03
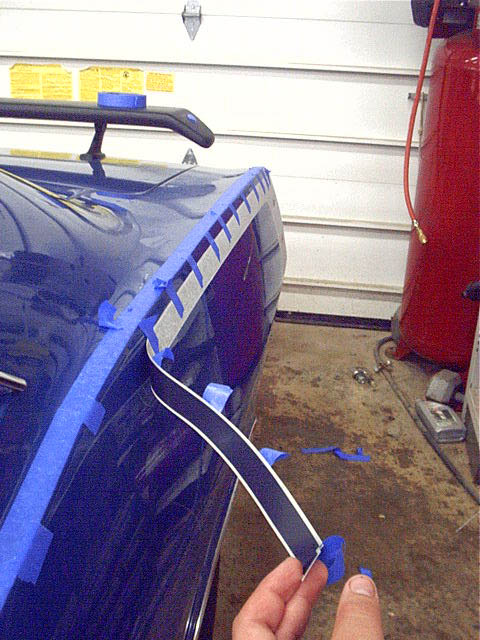
This picture shows where I cut the backing paper. The rear 3/4 of the stripe is stuck to the car, the front section still has the backing paper on it. Note that on the section of the stripe which is stuck down, I have removed the little pieces of "guide tape". I did this while the stripe was still wet and before I had squeegee'd it too much - this is because for some of the pieces, I could not be sure that the stripe itself was not laying on them - it certainly wouldn't do to get a piece of tape stuck between the stripe and the car!!! |
007 - 86 KB | |
 |
Tue 5/27/03
After the carrier paper is COMPLETELY dry (I waited a while and also used a heat gun to be sure) it can be SLOWLY removed, pulling at a sharp angle so as to not pull the vinyl up off the car. If the vinyl underneath rises up off the car at all when you peel away the carrier paper, it is still too wet, and you must wait until it is dry. |
008 - 97 KB | |
 |
Tue 5/27/03
The front section of stripe is a separate section. Personally, I think it would be much easier if it were made as one long stripe which could be cut with a razor blade at the door when done, but its not. I used a couple pieces of tape to try to get it positioned in about the right location. There are no measurements given here, you just reference it from the rear section of the stripe. |
009 - 101 KB | |
 |
Tue 5/27/03
Next, I put the piece in place just to see how everything looked. |
010 - 105 KB | |
 |
Tue 5/27/03
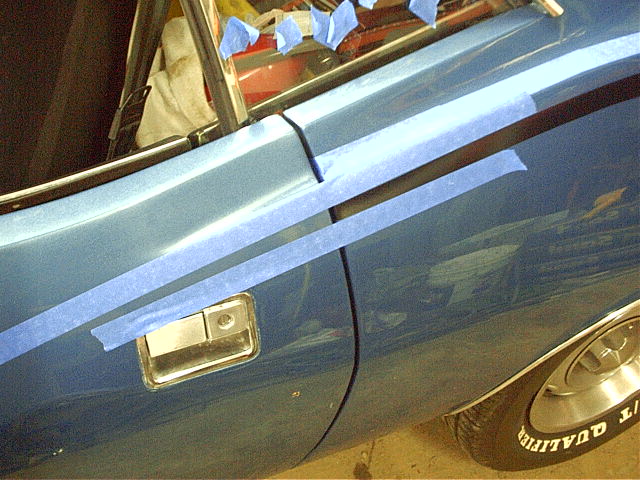
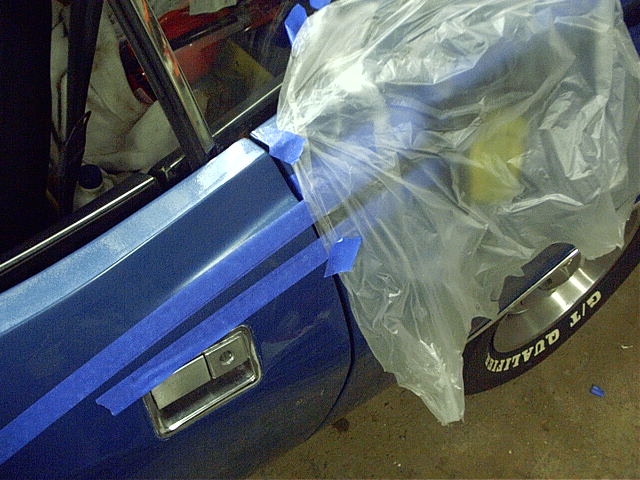
I masked off the rear section of the stripe prior to spraying the window cleaner. |
011 - 95 KB | |
 |
Tue 5/27/03
Its pretty much the same as before - squeegee, etc. This little piece is pretty hard though because it likes to move around a lot. When I did the other side of the car, I did it differently than pictured above. I installed the little stripe when the carrier paper was still on the rear section of the stripe. I then traced the outline of the big stripe and the little stripe on the carrier paper with a ballpoint pen. This made it very easy to just line up the little stripe visually. |
012 - 75 KB | |
 |
Tue 5/27/03
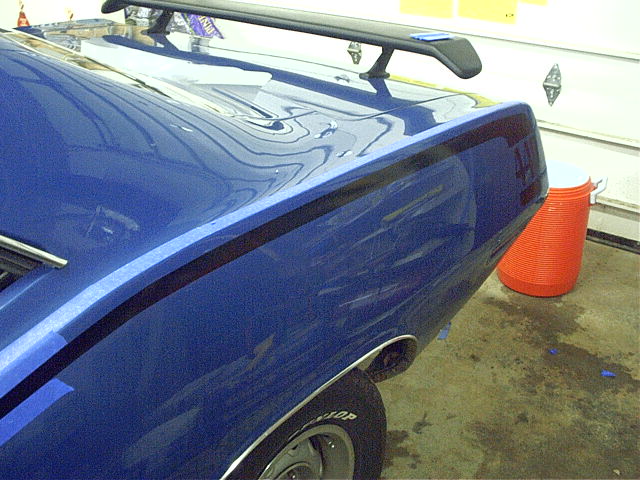
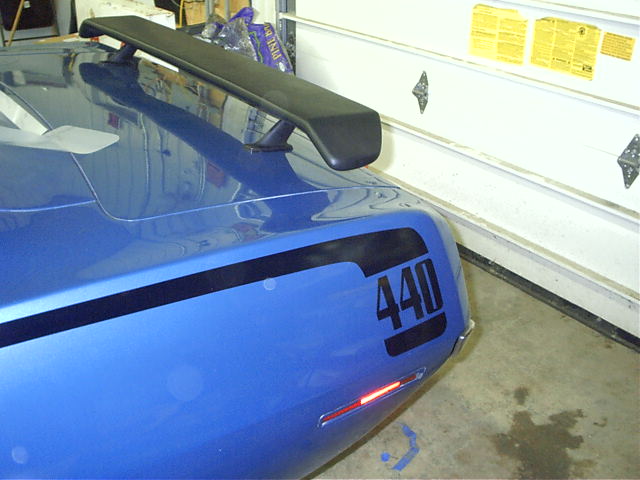
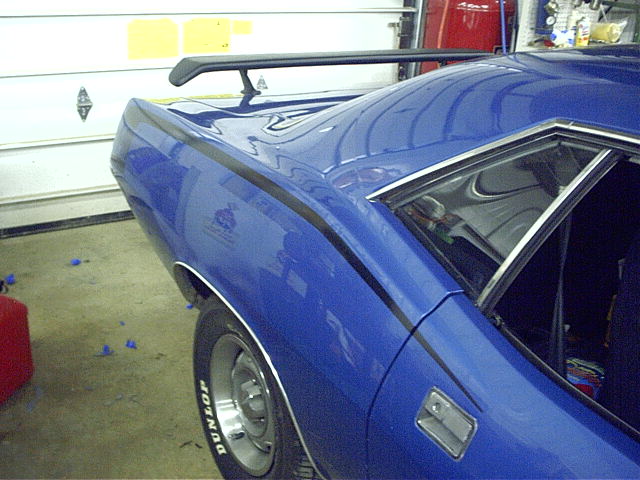
A close-up of the rear section of the stripe. It sure looks sharp with the wing! |
013 - 73 KB | |
 |
Tue 5/27/03
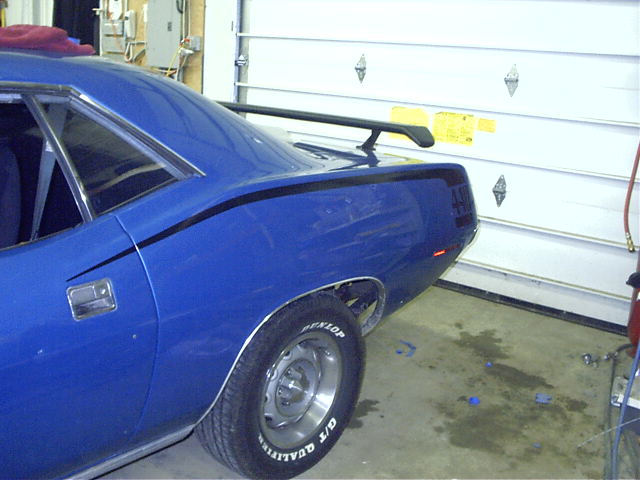
Second verse... |
014 - 94 KB | |
 |
Tue 5/27/03
...same as the first! I think it came out fairly well, considering it was done by a rank amateur. There are a couple of tiny bubbles and VERY small wrinkles, but you have to be looking for them to see them, and according to the install instructions, the bubbles may go away in a few days as the liquid under them evaporates. I really like how the stripes combine with the wing to give the car a whole new personality. I guess now if someone comes across me on the street, they can't complain that I didn't give them fair warning... |
015 - 88 KB |
This page was last updated Wed May 28 02:18:12 EDT 2003